

Dreaming of that golden, irresistibly crispy skin paired with juicy, flavorful meat? Roast duck isn’t just any poultry dish—it’s a culinary celebration that promises delight in every bite. Whether you’re prepping for a festive feast or an intimate dinner, mastering the art of roast duck can transform your cooking game. The challenge? Achieving that elusive perfect balance between crispy skin and tender juicy meat, a feat that’s surprisingly within reach with the right technique and a sprinkle of know-how. Enter the world of thoughtful duck preparation, meticulous seasoning, and precise oven roasting. You’ll discover how these elements work harmoniously to produce a dish that’s both a visual and gastronomic star. From scoring the skin just so to crafting a luscious honey glaze that caramelizes to sticky perfection, this guide has got you covered. Dive into the secrets that will have your guests raving—and keep you coming back for more! 🍗✨
Here’s a quick glance at what makes this roast duck recipe a must-try in your culinary repertoire:
- 🦆 Perfectly crispy skin thanks to clever scoring and slow roasting techniques.
- 🍊 Flavorful meat infused with aromatic stuffing like orange, apple, and prunes.
- 🍯 A sticky, complex honey glaze marrying sweet and savory notes.
- 🔥 Insider roasting steps, including a high-heat finish to seal that crunchy crust.
- 🏅 Ideal for special occasions or simply elevating any meal to restaurant-quality.
how to prep and season the duck for tasty crispy skin
Getting that iconic crispy skin starts long before your duck meets the oven. It’s all about the prep: drying, scoring, seasoning, stuffing—the tricks of the trade that professional chefs swear by. One trust-built tip? Fully defrost your duck if frozen, then rinse and dry it thoroughly. The game-changer? Leave the duck uncovered in the refrigerator overnight. This extra step dries the skin, making the fat render more effectively—your crispy skin’s best friend!
Now, let’s talk scoring. Using a sharp knife, gently cut the skin on the breast in a diamond pattern, ensuring you only slice through the skin and fat layers, not the meat beneath. This lets the fat ooze out during roasting, crisping up the skin while ensuring the meat stays juicy. Next, puncture the skin lightly all over—like a seasoned pro poking holes in a drum for drama!—to help drain excess fat. After that, season generously. Salt is your star here: rub the skin and the cavity thoroughly. It helps pull moisture away and seasons the meat inside.
Stuffing the cavity is not mere decoration—it’s a game-changer for juicy meat. Aromatics like garlic, shallots, quartered oranges, apples, and even prunes add layers of flavor and moisture. Plus, sealing the cavity with toothpicks retains these flavors and traps moist air, keeping the meat tender. Tie those legs and tuck the wings under for even roasting. These little details add up to a duck that looks—and tastes—like a masterpiece.
Feeling adventurous? Swap out the classic orange for other citrus options from the vibrant variety list at My MiniFridge citrus selection to put your spin on the traditional flavor profile.
step-by-step oven roasting for juicy meat and that perfect crunch
Roasting duck is a bit like conducting a symphony, and timing is the maestro of flavor. The secret? Gradual heat, fat rendering in phases, and that epic final blast to the skin.
Begin roasting your duck breast side up at 350°F (175°C) for an hour. This low-and-slow roasting allows most of the fat to melt away, preventing greasy skin while tenderizing the meat. After the first hour, take the duck out and like before, prick the skin all over again—think of it as gently loosening up the skin to let fat keep flowing out smoothly. Then flip it breast side down and roast for another hour. This switch ensures the back of your duck cooks evenly, bares that beautiful browned skin, and fat drains perfectly.
During this time, crafted honey glaze magic is simmering nearby. Combine honey, molasses, fresh orange juice, and hoisin sauce for a sweet-savory punch that will later coat your duck. Simmer gently until thick and shiny — it’s this glaze that’ll bring that sticky, eye-catching finish everyone loves.
Once your duck has roasted for two hours, it’s time to crank things up with a powerful 400°F (205°C) blast for 15 minutes breast side up, giving the skin its final, satisfyingly crisp crunch. Proceed to generously brush the sticky honey glaze on and roast another 5-7 minutes—caramelizing all that sweet goodness to next-level perfection. Finally, rest your bird for 10-15 minutes to redistribute those precious juices and lock in moist tenderness. Carving after resting results in slices that drip with flavor, guaranteed to impress at any table.
wonderful side dishes and inventive serving ideas you’ll love
Serving your roast duck isn’t just about the bird itself; it’s the whole experience, right? Pairing it with the right sides and garnishes can elevate your meal from good to unforgettable.
Classic pairings include roasted root veggies like carrots and parsnips that soak up the duck’s luscious juices, plus creamy mashed potatoes to smooth it all out. Want something lighter? A crisp green salad dressed with a zesty citrus vinaigrette balances the richness beautifully. Fresh herbs like sage or rosemary, garnishing your plate, harmonize aromatic layers and entice the senses further.
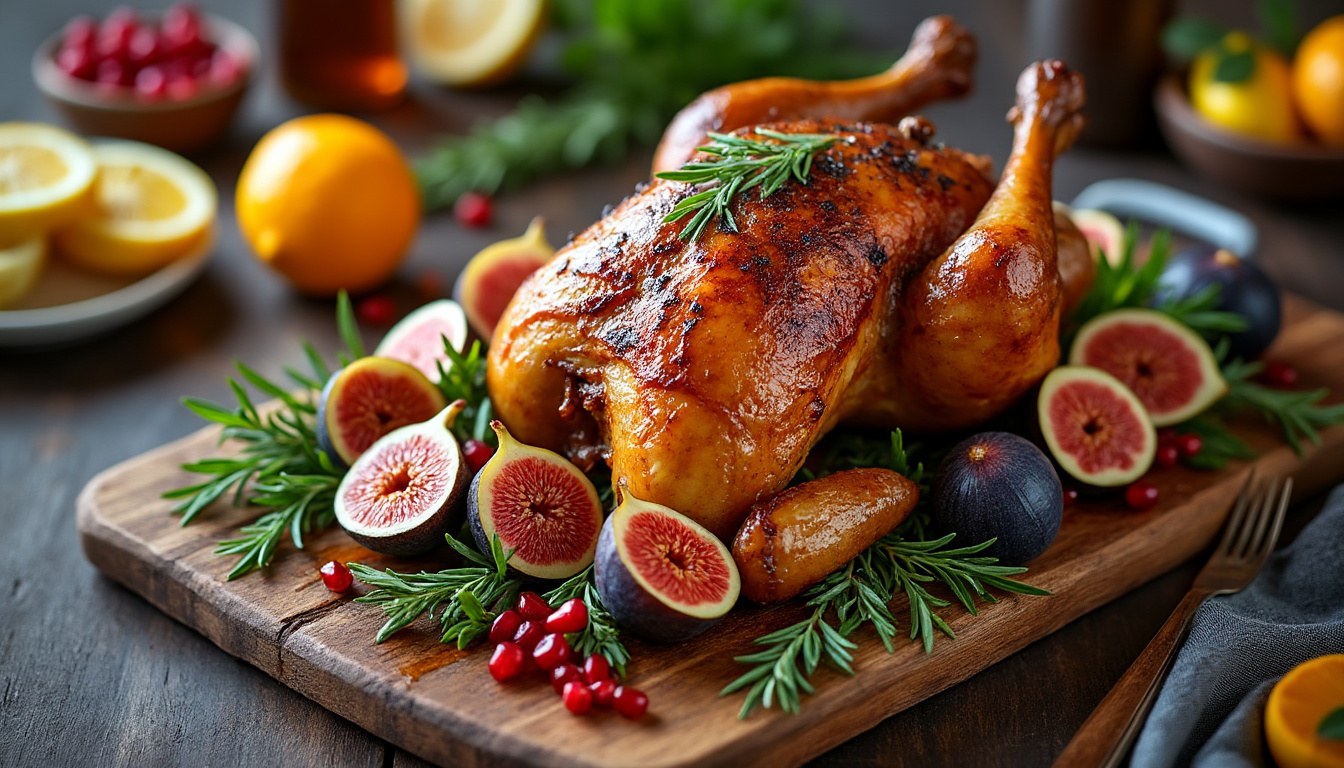
To really amp up the visual and flavor game, sprinkle with jewel-toned garnishes such as pomegranate seeds, sliced figs, or grapes. They bring not only color but a burst of tart sweetness that perfectly contrasts the duck’s savory depth. Curious about making your own chutney to complement the dish? Check out this delightful plum chutney recipe which pairs amazingly with duck’s rich profile.
For those special occasions, consider carving the duck tableside on a wooden board surrounded by roasted fruit from inside the cavity adorned with fresh herb sprigs. Drizzling extra glaze over the top adds a dazzling shine that makes the dish a feast for the eyes and taste buds alike. Sometimes a touch of edible flowers finishes it off for that Instagram-worthy wow factor. 🍽️🌿
clever cooking tips and tricks for mastering your perfect roast duck
Perfecting roast duck isn’t just luck — it’s methodical, savvy cooking with some insider tricks up your sleeve. Here’s a rundown of top secrets that seasoned home cooks and pros swear by:
- 🔪 Dry skin overnight: Leaving your duck uncovered in the fridge before roasting dries the skin, which is the ultimate hack for that scorched crispiness.
- 🍽️ Score and prick: Scoring your duck skin without cutting into the meat and pricking the skin multiple times promotes fat drainage, giving you that coveted crackle.
- 🔥 Two-phase roasting: Roast first breast side up, then flip. This ensures even fat rendering and makes the meat juicy without overcooking.
- 🍯 Glaze right: Prepare the glaze ahead and bring it to a simmer for thickening. Brush it on at the very end so it caramelizes instead of burning.
- ⏳ Rest your duck: Let it sit before carving; rest time locks in moisture and keeps meat tender.
One fascinating fact: roasting duck with its fat draining away can reduce fat content by nearly 30%, making it lighter than you’d suspect, yet still decadently flavorful. This method proves that sumptuous doesn’t have to mean weighed down.
And if you want an extra challenge with exciting flavor twists, try sprinkling your honey glaze with a splash of Chinese five-spice or chili flakes — it kicks that sticky sweet coating up a notch without overpowering the duck’s natural essence. For alternative homemade accompaniments, consider experimenting with damson jam which can add a tart contrast that’s simply divine!
how to store, reheat and enjoy leftovers without losing flavor
Let’s be real: roast duck tastes just as great the next day if stored and reheated properly. The key? Keeping that crispy skin mojo, or at least as much as possible.
After letting your duck rest, wrap the leftovers tightly in foil or place in an airtight container. Refrigerate and try to consume within 3-4 days—because freshness is still queen! If you’re prepping for a longer haul, slice the meat and freeze in portions sealed in plastic wrap and freezer bags; it’ll keep beautifully for up to 3 months.
When reheating, cover your duck loosely with foil in a 325°F oven until warm—about 15 minutes. To revive some of that crispy delight, briefly broil uncovered for 1-2 minutes but watch closely to avoid burning. These tips help keep your juicy meat intact while bringing back that satisfying skin crunch.
Got leftover roast duck? Don’t hesitate to shred it into salads, sandwiches, or stir-fries to breathe new life into every bit of that rich flavor. Roasting duck isn’t just a one-time wonder—it’s an adventure that keeps on giving!
| 🍗 Step | 🔥 Temperature | ⏱️ Time | 🍯 Key Tip |
|---|---|---|---|
| Dry duck skin overnight | Refrigerator | 8-12 hours | Helps achieve perfect crispiness |
| Initial roast breast side up | 350°F (175°C) | 1 hour | Allows fat to render |
| Flip and roast breast side down | 350°F (175°C) | 1 hour | Even cooking and fat drainage |
| High heat blast to crisp skin | 400°F (205°C) | 15 minutes | Final crunch before glazing |
| Glaze and finish roasting | 400°F (205°C) | 5-7 minutes | Sticky caramelized glaze |
| Rest before carving | Room temperature | 10-15 minutes | Juice redistribution for moist meat |
Can I use frozen duck directly from the freezer?
Frozen duck should always be fully thawed in the refrigerator for 1-2 days before roasting to ensure even cooking and crispy skin.
What’s the best way to get extra crispy skin without drying out the meat?
Dry the duck skin overnight in the fridge uncovered, score the skin carefully, and finish with a high heat blast at the end of roasting.
Can the honey glaze be prepared in advance?
Yes! The honey glaze can be made a day ahead and gently reheated before brushing onto the duck during the final roasting stage.
What sides go well with roast duck?
Roasted root vegetables, creamy mashed potatoes, or a crisp green salad with citrus vinaigrette pair wonderfully with this duck recipe.
How do I store and reheat leftover roast duck?
Store leftovers in an airtight container in the fridge for 3-4 days. Reheat covered in a 325°F oven, then briefly broil to revive crispy skin.
